环境准备
- 安装go语言,配置go开发环境;
- 安装node.js以及npm环境;
使用Gin
为了快速搭建后端应用,采用了Gin作为Web框架。Gin是用Golang实现的一种Web框架,api非常友好,且拥有出色的路由性能和详细的错误提示,如果你想快速开发一个高性能的生产环境,Gin是一个不错的选择。
开始一个项目
下载和安装Gin:1
go get github.com/gin-gonic/gin
目录结构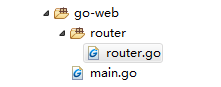
在IDE开发工具中新建一个项目go-web,并建立一个main.go文件作为项目入口:1
2
3
4
5
6
7
8
9package main
import (
"go-web/router"
)
func main() {
router.Init()
}
注: go中package main 必须包含一个main函数。
从上面的代码可以看到,我们引入了go-web下面的router包,并显式的调用了router的Init()函数, 那现在我们就在go-web项目下新建router目录,并在目录下建立router.go用于编写路由规则,代码如下:1
2
3
4
5
6
7
8
9
10
11
12
13
14
15
16
17
18
19
20
21
22
23
24
25
26
27
28
29
30
31
32
33package router
import (
_ "fmt"
"github.com/gin-gonic/gin"
"math/rand"
"net/http"
)
func Init() {
r := gin.Default()
v1 := r.Group("/v1")
{
v1.GET("/line", func(c *gin.Context) {
// 注意:在前后端分离过程中,需要注意跨域问题,因此需要设置请求头
c.Writer.Header().Set("Access-Control-Allow-Origin", "*")
legendData := []string{"周一", "周二", "周三", "周四", "周五", "周六", "周日"}
xAxisData := []int{120, 240, rand.Intn(500), rand.Intn(500), 150, 230, 180}
c.JSON(200, gin.H{
"legend_data": legendData,
"xAxis_data": xAxisData,
})
})
}
//定义默认路由
r.NoRoute(func(c *gin.Context) {
c.JSON(http.StatusNotFound, gin.H{
"status": 404,
"error": "404, page not exists!",
})
})
r.Run(":8000")
}
使用curl测试效果:1
2$ curl -s localhost:8000line
{"legend_data":["周一","周二","周三","周四","周五","周六","周日"],"xAxis_data":[120,240,81,387,150,230,180]}
使用该接口返回一个json结构的数据1
$ curl -s localhost:8000/v1/line | python -m json.tool
基于vue框架开发前端项目
进入到go项目go-web的src目录下,使用vue-cli脚手架快速构建一个基于 webpack 模板的vue项目。1
2
3 vue init webpack vue-test //一路回车即可
cd vue-test
cnpm install
安装异步请求包1
cnpm install --save axios
run的时候会根据配置进行webpack静态资源编译1
cnpm run dev
当使用了cnpm run dev后,即成功运行起来一个前端服务,当使用浏览器访问http://127.0.0.1:8080时会看到类似下面的页面。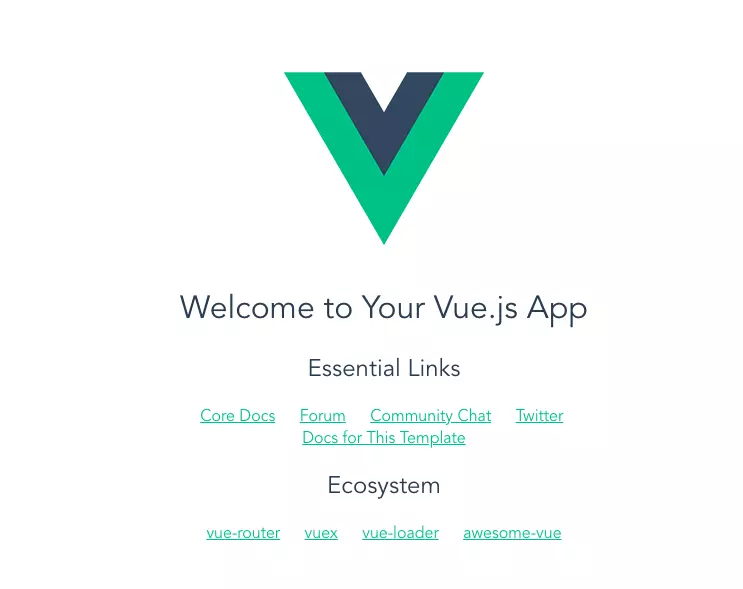
vue渲染后端API数据。一个vue项目的源码部分由这么几个部分组成: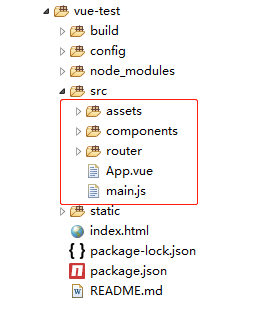
- main.js: js主文件
- App.vue: vue主文件
- assets: 静态文件目录
- components: 自定义组件
- router: 路由目录
vue渲染后端数据
在vue-test项目的src目录下,编写一个ApiData.vue的组件1
2
3
4
5
6
7
8
9
10
11
12
13
14
15
16
17
18
19
20
21
22
23
24
25
26
27
28
29
30
31
32
33
34
35
36
37
38
39
40
41
42
43
44
45
46
47
48
49
50
51
52
53
54
55
56# cat components/ApiData.vue
<template>
<!--使用class来绑定css的样式文件-->
<div class="hello">
<!--{{}} 输出对象属性和函数返回值-->
<h1>{{ msg }}</h1>
<h1>site : {{site}}</h1>
<h1>url : {{url}}</h1>
<h3>{{details()}}</h3>
<h1 v-for="data in ydata" :key="data">{{data}}</h1>
<h3 v-for="item in xdata" :key="item">{{item}}</h3>
</div>
</template>
<script>
import axios from 'axios'
export default {
name: 'apidata',
// data用来定义返回数据的属性
data () {
return {
msg: 'hello,xuchao918!',
site: "xuchao918",
url: "https://xuchao918.github.io",
xdata: null,
ydata: null,
}
},
// 用于定义js的方法
methods: {
details: function() {
return this.site
},
},
mounted () {
// response返回一个json{"data": "数据","status": "状态码","statusText":"状态文本","headers":{ "content-type": "application/json; charset=utf-8" },"config":"配置文件","method":"方法","url":"请求url","request":"请求体"}
axios.get('http://localhost:8000/v1/line').then(response => (this.xdata = response.data.legend_data,this.ydata = response.data.xAxis_data))
}
}
</script>
<!--使用css的class选择器[多重样式的生效优先级]-->
<style>
.hello {
font-weight: normal;
text-align:center;
font-size:8pt;
}
h3
{
text-align:center;
font-size:20pt;
color:red;
}
</style>
在路由中增加我们的components1
2
3
4
5
6
7
8
9
10
11
12
13
14
15
16
17
18
19
20
21
22
23# cat router/index.js
import Vue from 'vue'
import Router from 'vue-router'
import HelloWorld from '@/components/HelloWorld'
// 增加我们自定义的ApiData组件
import Hello from '@/components/ApiData'
Vue.use(Router)
export default new Router({
routes: [
{
path: '/',
name: 'HelloWorld',
component: HelloWorld
},
// 在这里引用我们的组件
{
path: '/test',
name: 'Hello',
component: Hello
}
]
})
在App.vue文件中定义我们的vue脚本, 增加如下内容1
2
3
4
5
6
7
8
9<script>
import Hello from './components/ApiData'
export default {
name: 'test',
components: {
Hello
}
}
</script>
最后,使用浏览器访问页面
http://localhost:8080/test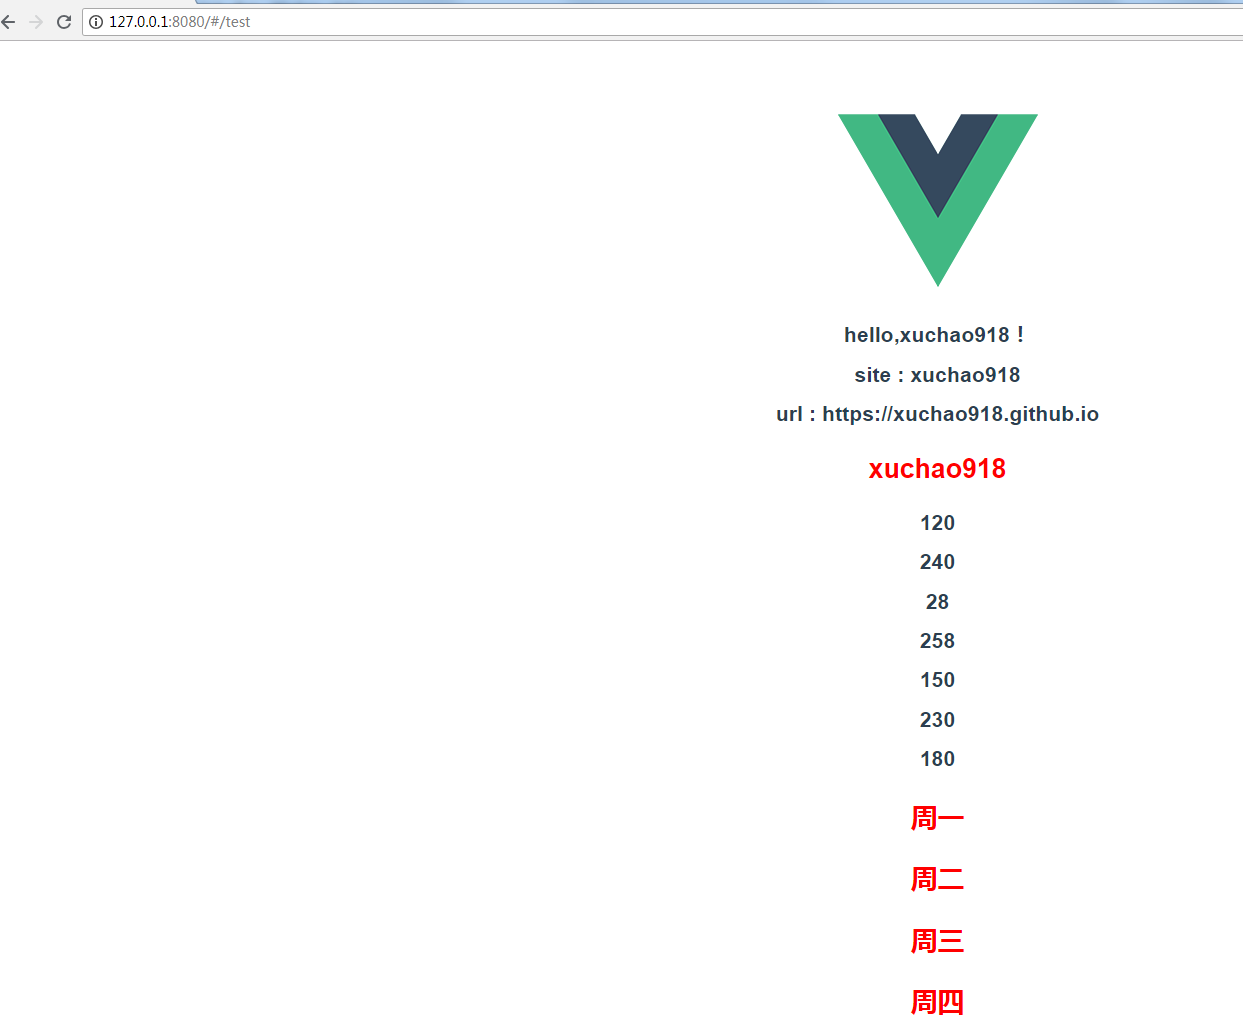
Gin返回静态页面
我们在网站开发中肯定会涉及到静态资源的处理,下面是Gin返回静态页面,以及实现数据交互的简单例子。
在go项目下新建templates目录,目录下新建index.html,内容如下:1
2
3
4
5<html>
<h1>
{{ .title }}
</h1>
</html>
新建一个group v2,并创建/index路由,返回静态html页面:1
2
3
4
5
6
7
8r.LoadHTMLGlob("templates/*")
v2 := r.Group("/v2")
{
v2.GET("/index", func(c *gin.Context) {
c.HTML(http.StatusOK, "index.html", gin.H{"title": "hello Gin.",
})
})
}
使用LoadHTMLGlob定义模板文件路径,用c.HTML返回静态页面。访问:1
2
3
4
5
6
7
8curl -X GET 'http://127.0.0.1:8000/v2/index' -i
HTTP/1.1 200 OK
Content-Type: text/html; charset=utf-8
Date: Mon, 18 Sep 2017 08:29:13 GMT
Content-Length: 55
<html lang="en">
hello Gin.
</html>
Gin返回了静态文件index.html,并把title数据填充到了模板{{ .title }}
注:关于模板语言的使用,读者自行补充。当然静态资源我们也可以交由nginx等来处理,减少服务器压力。
此时,我们就可以看到vue成功将后端Golang的API数据进行渲染出来了。虽然只是简单渲染,但,基本上已经实现了后端API和前端vue项目的融合。接下来就需要根据需求继续改造了。
问题1:浏览器URL地址自动加上#号
浏览器访问VUE项目会在访问地址后面加上#,这个#其实是VUE的HASH模式所产生的,正确点来说是因为VUE使用了HASH模式。如果不想有#可以修改路由Router的mode为history即可。
例如在vue init webpack my-project创建项目完毕以后,在src->router->index.js里修改1
2
3
4
5
6
7
8
9import Vue from 'vue'
import Router from 'vue-router'
Vue.use(Router)
export default new Router({
mode: 'history' //把Router的mode修改为history模式,VueRouter默认的模式为HASH模式
......
})
参考链接:
http://www.10tiao.com/html/556/201711/2651933044/1.html